ServicesSurface Prep and Sanding
Surface Preparation and Sanding in Hempstead
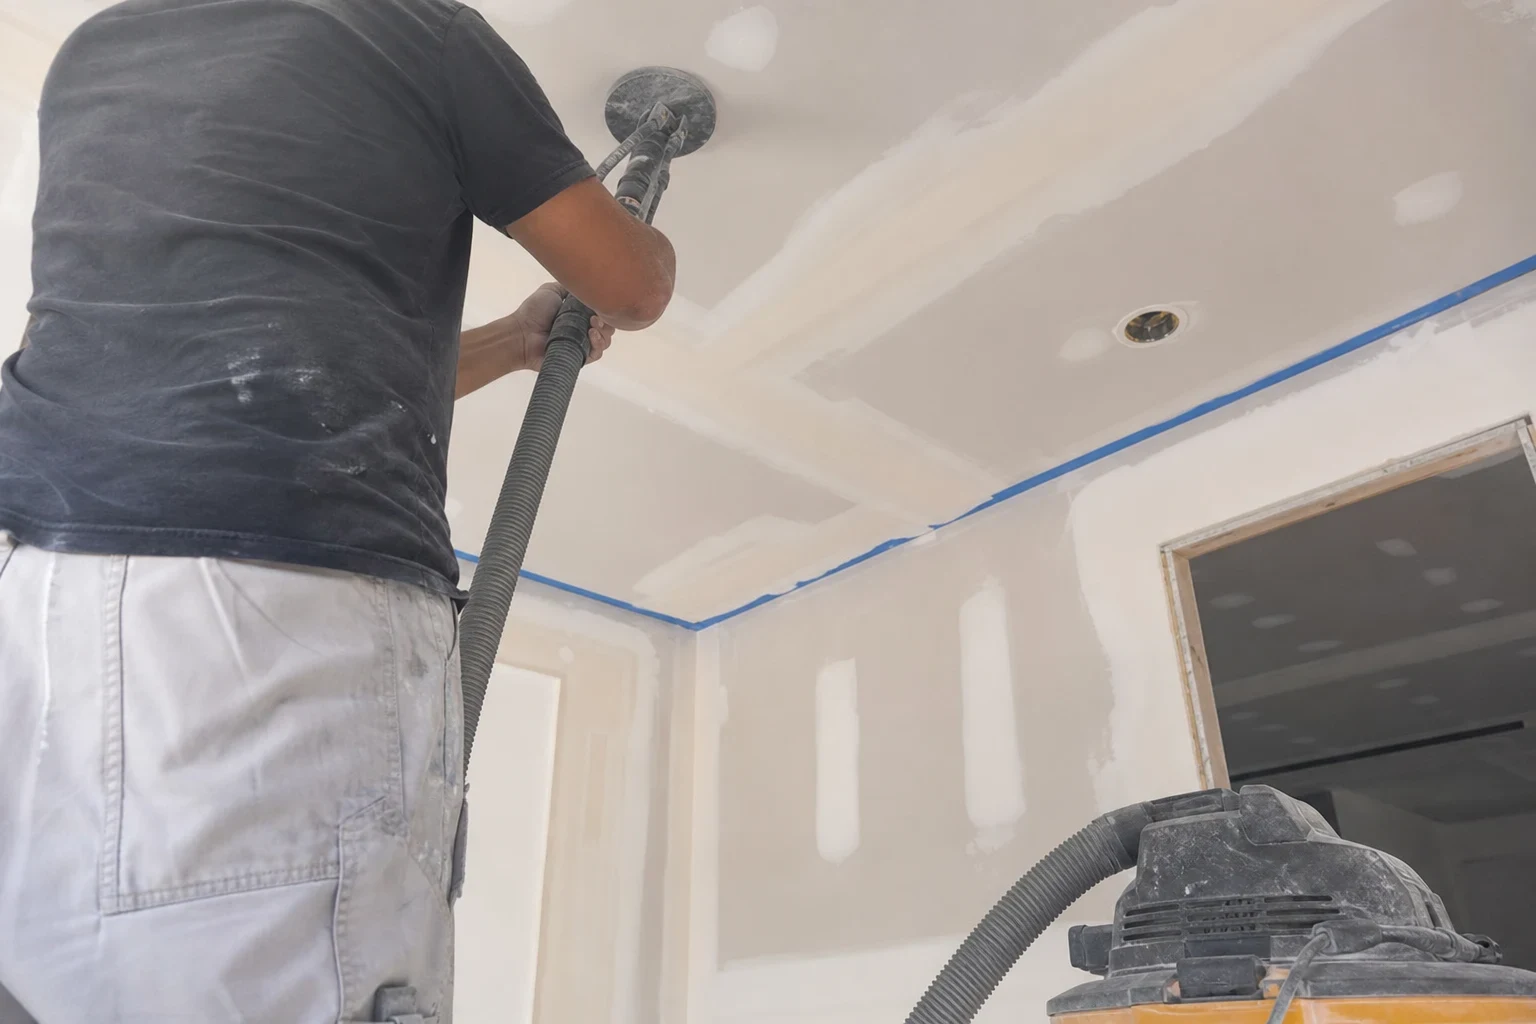
Paint only looks as good as the wall underneath it. We scrape loose layers, fill dents and old repair ridges, skim where needed and sand to a smooth, even surface, with dust control that keeps the rest of your home clean.
The work the final coat depends on
Surface preparation is everything that happens before primer: cleaning, scraping, filling, skim coating and sanding. It is the right call when a wall looks rough under side light, when new paint keeps peeling, or when a past repair shows through as a bump or a dull halo. Skip it and the flaws simply get a fresh color.
Older houses add layers to the job. A wall may carry five or six coats of paint, including oil-based enamel that new latex will not grip, along with patches from several decades, each done a different way. Plaster walls in prewar houses around Hempstead often hide hairline cracks and loose spots that need attention before any sanding. We read those layers first and choose the method from what we find, rather than taking a sander to everything.
If the wall itself is damaged, with holes, water stains or soft board, we start with drywall repair or drywall patching and fold the prep into the same visit.
What our prep and sanding covers
- Scraping and deglossing
- We remove flaking and blistered paint back to a sound edge and dull glossy oil finishes so the next coat bonds. A simple test tells us whether an older coat is oil or latex.
- Filling dents and nail pops
- Gouges and dings get a setting compound that cures hard instead of shrinking. Popped nails and screws are reset and covered.
- Feathering old repairs
- Ridges and halos left by earlier patches are sanded down and feathered wide, so the edge disappears once paint goes on.
- Skim coating
- When a wall is crowded with small flaws or has torn paper face, a thin skim coat over the whole surface is often more even than dozens of spot fixes.
- Dust-controlled sanding
- We use vacuum-attached sanders where the surface allows, then finish by hand with a work light held low against the wall to catch what the eye misses.
- Primed and ready
- Bare compound gets primer so it will not flash through the finish. You are left with a wall ready for color, or for our paint touch-ups on the repaired spots.
Signs your walls need prep first
Paint peeling in sheets
This usually means latex was rolled over glossy oil paint or over dust. Another coat on top will peel the same way.
Patches visible across the room
A raised square or a dull ring means the old repair was never feathered or primed.
Rough or gritty texture
Old drips, heavy roller stipple from decades of coats and trapped debris catch light, especially beside windows.
Torn paper after wallpaper removal
In older rooms, paper was often hung over unsealed drywall. The exposed brown face has to be sealed before it can be skimmed, or it bubbles.
Hairline cracks that keep returning
Cracks along tape joints or across plaster need to be opened and reinforced before sanding. Painted over as they are, they come back through the new finish.
How a prep day runs
- 1
Walkthrough and testing
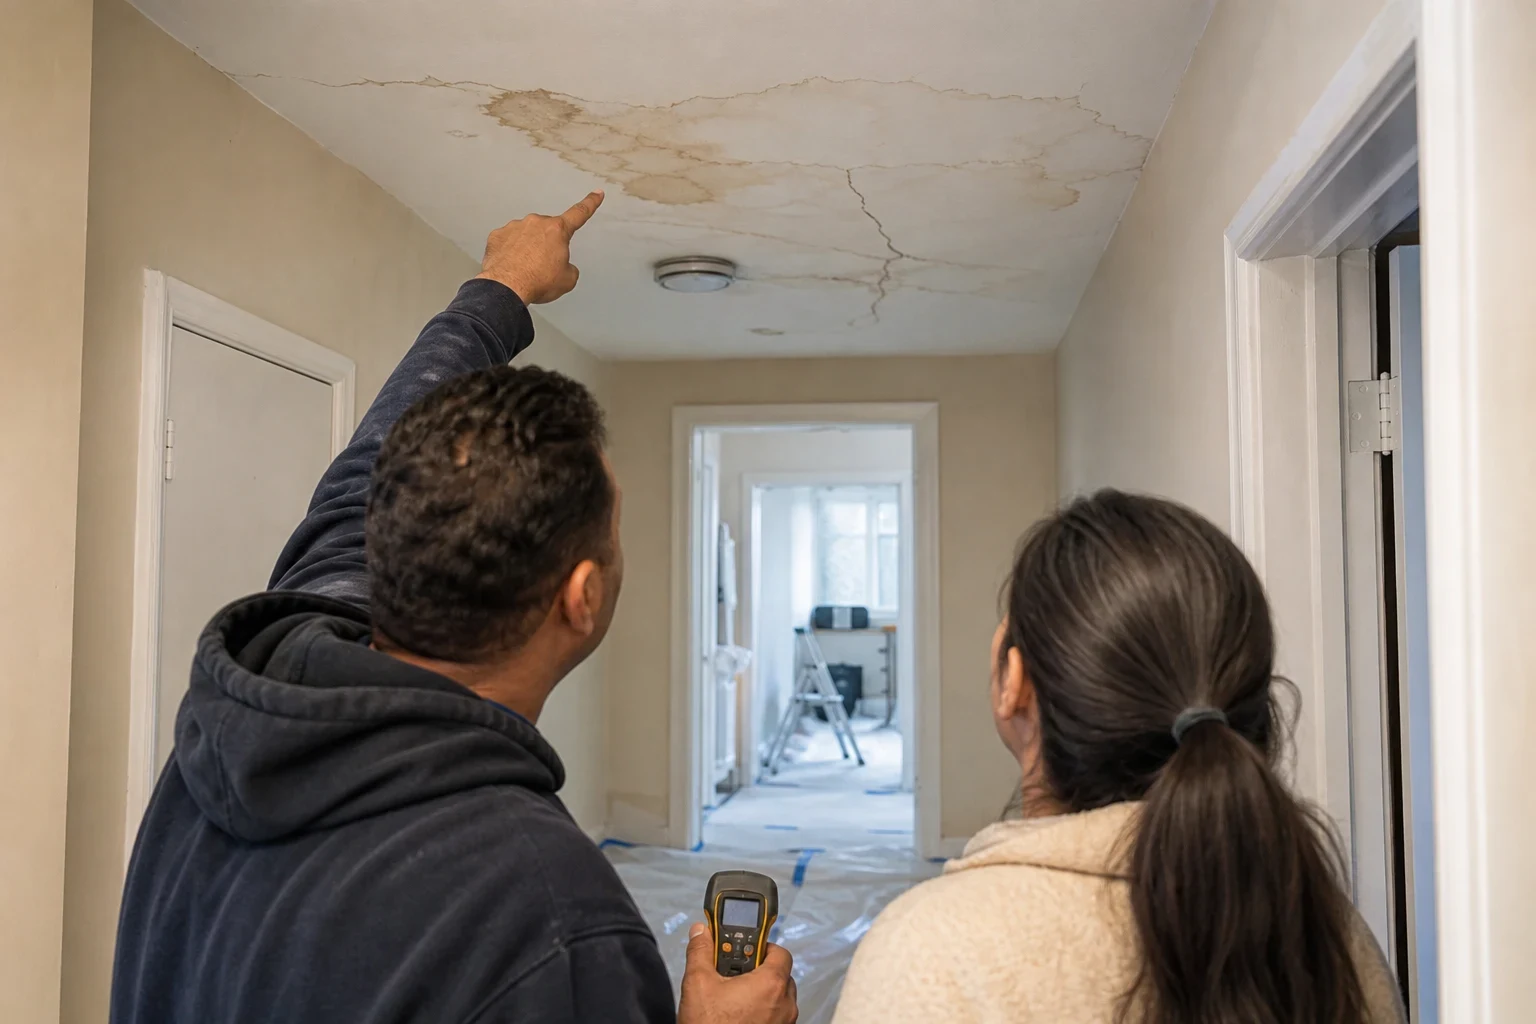
We look at each wall under side light, mark flaws and check the paint type. In a house built before 1978 we talk with you about lead in old paint before any sanding, because that changes how the work is done.
- 2
Protecting the room
Floors are covered, furniture is moved or wrapped, doorways are sealed with plastic and vents are masked. The aim is a clean work area that keeps dust in one room.
- 3
Scrape, fill and skim
Loose material comes off first, then compound goes on in thin coats. Each coat has to dry fully, and on humid summer days that takes longer, so we plan the schedule around it instead of rushing.
- 4
Sand, check and prime
We sand, check again with a light and refill anything that still shows. Repaired areas get primer.
- 5
Cleanup and walkthrough
Plastic comes down carefully, we vacuum ledges and floors, and we walk the room with you before we leave.
What moves the cost of surface prep
Prep is priced by the condition of the surface more than by square footage alone. We look at the walls first and go over a written, line-item estimate with you, so you can see what each part of the work involves. If we find something unexpected once scraping starts, we stop and talk it through before going further.
- Paint layers and type
- Several old coats, especially oil enamel, take more scraping and deglossing than a single coat of latex.
- Spot work or a full skim
- A few dents are quick. A wall covered in small flaws usually needs a skim coat across the whole surface, which adds material and drying time.
- Plaster or drywall
- Plaster is harder and slower to sand, and loose sections may need securing or repair before finishing.
- Lead-safe handling
- If old paint may contain lead, the work shifts to wet methods and tighter containment, which takes more time.
- Height and access
- Stairwells, tall ceilings and furnished rooms take longer to set up and protect.
Questions about prep and sanding
Something not covered here? (516) 604-5030
How much dust will there be?
Some, but far less than most people expect. We sand with vacuum-attached tools where we can, seal the room with plastic and mask the vents so dust does not travel through the house. Fine dust can still settle on ledges inside the room, which is why we vacuum before we leave.
Can you just sand over the old paint?
Sometimes. Sound latex can be scuffed and recoated. Peeling paint, glossy oil enamel or paint that might contain lead needs a different approach, and sanding it blindly can make the problem worse. We test first and tell you what we find.
My walls are plaster. Can they be prepped like drywall?
Mostly, with more care. Plaster is harder, so we sand less and fill more. We also check for areas that have pulled away from the lath, and those are secured before finishing so they do not crack again.
How long does prep take?
A single room with light work can often be finished in a day or two. Skim coats need drying time between coats, so heavier prep usually runs over several days. We give you a realistic schedule when we go over the estimate.
Will the walls be ready to paint when you finish?
Yes. The surface is smooth and clean, and repaired areas are primed. If the patched spots need color matched to the surrounding wall, our paint touch-ups service handles that.
Start with a wall that is ready
Tell us what you are seeing, whether peeling layers, old patches or rough texture, and we will talk through what the surface likely needs and when we can come look. We work in Hempstead and nearby towns including Baldwin and East Meadow.